Direct answer
Return to Home is a model-specific recovery tool, not a guarantee.
Before takeoff, confirm that the correct Home Point is recorded, read what triggers RTH on the exact aircraft, set or review the return behavior for the actual site, and identify obstacles along every possible return path. During RTH, keep watching the aircraft and status display. Take over or cancel only when the manual permits it, the control link is confirmed, and manual flight is clearly safer.
Know what Return to Home actually means
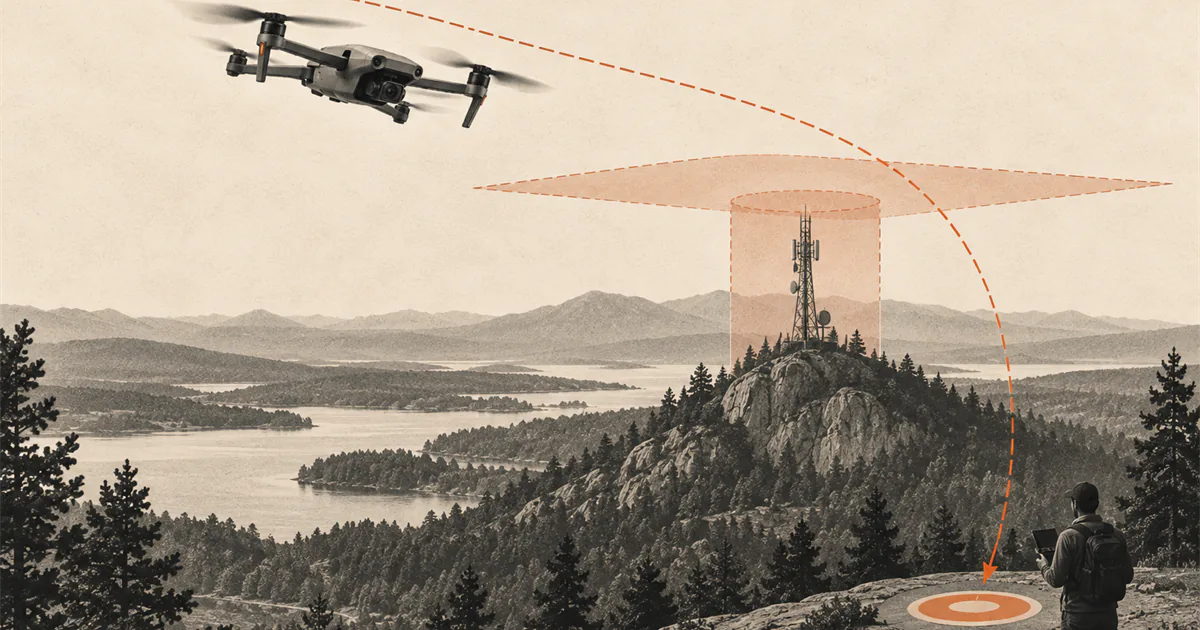
Return to Home, usually shortened to RTH, is an automated flight behavior that attempts to move an aircraft toward a recorded Home Point. That short description hides the decisions that matter: which event starts the return, which point is stored, what path the aircraft follows, whether it changes altitude, what sensors are available, and what happens near the destination.
Those details are not shared by every drone. Some aircraft have no GPS-based RTH. Others offer several return modes or let the pilot choose a different action after control-link loss. Even within one manufacturer’s lineup, distance rules, path planning, obstacle behavior, and cancellation controls can differ.
Treat the current manual for the exact aircraft, controller, app, firmware, and flight mode as the procedure. A video about a similar model can explain the concept, but it cannot configure the aircraft in front of you.
Separate the three common triggers
Many stabilized camera drones can enter RTH in more than one way:
- the pilot deliberately starts it;
- the aircraft or app starts a low-battery return process;
- the aircraft starts a failsafe response after losing the control link.
The DJI Mini 4 Pro manual documents all three categories for that model, but their conditions and the pilot’s available choices are not identical. A manual RTH command is not the same event as a forced descent caused by a critically low battery. A Failsafe RTH also depends on the selected signal-loss action and on system conditions described in the manual.
Identify each trigger separately before flight. Check what the display will say, whether the action can be paused or canceled, and what control remains available. Do not assume that one RTH demonstration has taught every low-battery or lost-link state.
Confirm the Home Point before takeoff
RTH can only be useful when its destination is understood. Wait for the aircraft and app to confirm the Home Point according to the model’s instructions. Then verify that the point shown on the map matches the intended recovery location.
Consider whether the launch point will remain suitable later. A path, beach, parking area, boat, or moving pilot position can make the original point occupied, inaccessible, or no longer close to the controller. Some systems support updating the Home Point under specific conditions; others do not. Read that procedure before the situation changes.
If the Home Point is missing, incorrect, or unexplained, do not take off expecting RTH to solve a later problem. Resolve the positioning or configuration issue on the ground.
Map the return path, not only the destination
A suitable landing point does not make every route to it safe. Look from the planned operating area back toward home and identify trees, wires, poles, buildings, terrain, and any overhead structure. Include obstacles that may sit above the normal outbound route.
Review how the exact aircraft uses its RTH altitude. Do not copy a height from another pilot or set a generic high number. A low setting may leave an obstacle in the path. An unnecessarily high setting can add climb time, expose the aircraft to different wind, consume more battery, or conflict with an applicable altitude limit.
The DJI Mini 4 Pro manual, for example, describes different RTH planning when its vision systems have suitable lighting and environment than when they do not. It also documents distance-dependent behavior near the Home Point. That is one model’s logic, not a universal route.
Understand what sensing cannot promise
Obstacle sensing does not turn RTH into an all-condition autopilot. Sensor coverage, supported flight modes, lighting, surface texture, weather, obstacle size, and system status can all affect what the aircraft detects. Thin wires, bare branches, transparent surfaces, and low-contrast obstacles deserve particular caution even when a product advertises obstacle avoidance.
Positioning is another dependency. A recorded point, GNSS state, compass status, and local interference can change the available behavior. Wind can also prevent the aircraft from making the expected progress or consume the return margin faster than anticipated. Review drone wind basics before treating a battery estimate as a return plan.
Plan the route so safe recovery does not depend on a sensor detecting the final possible obstacle.
Monitor RTH instead of looking away
When RTH begins, keep the aircraft within visual line of sight and continue watching the surrounding airspace. Confirm the displayed mode, Home Point, route, altitude, link state, battery state, and warnings that the model exposes.
Do not press several controls because the aircraft’s first movement is unexpected. The movement may be part of the documented route. Equally, do not let automation continue toward a known hazard simply because RTH is active.
Take over, pause, or cancel only when the current manual allows it, control is clearly restored, aircraft orientation is understood, and manual control gives the safer path. If any of those conditions is uncertain, follow the model-specific procedure rather than improvising.
Review this RTH check before launch
Use this short review inside the broader drone preflight checklist:
- Confirm the exact model, controller, app, firmware, and current manual.
- Verify the Home Point and whether it can move or be updated.
- Identify manual, low-battery, and link-loss triggers separately.
- Review the selected signal-loss action.
- Check the RTH mode, route logic, and altitude behavior for this site.
- Inspect the possible return path and landing area for obstacles and people.
- Confirm the positioning, compass, sensing, battery, and weather conditions RTH depends on.
- Know how the display identifies RTH and how the model permits pause, cancellation, or manual control.
Do not deliberately disconnect the controller or create a signal loss to test RTH. Learn the interface and documented behavior on the ground, then keep the first flight close, visible, and simple.
Use clear no-reliance decisions
Do not launch with RTH as the recovery plan when:
- the Home Point is missing, wrong, or likely to become unsuitable;
- the route or altitude could meet an unresolved obstacle;
- the signal-loss action or RTH mode is unknown;
- positioning, compass, vision, battery, or app status is not normal for the model;
- wind or weather leaves uncertain return performance;
- the flight would leave visual line of sight or depend on video alone;
- you have not read how the exact aircraft starts, continues, and exits RTH.
RTH is most useful when the flight was already planned to remain recoverable. It does not make an unsuitable route, weak battery margin, blocked signal path, or uncertain weather acceptable.
Sources
Check the underlying guidance.
DJI's current support material shows why Return to Home must be read model by model: the trigger, Home Point requirements, route, altitude, sensing, cancellation, and signal-loss response can change by aircraft, settings, environment, and firmware. FAA guidance remains controlling for visual-line-of-sight responsibility.
- Drone RTH Logic, DJI. Manufacturer source. Checked . Used to show that DJI RTH triggers, routes, distance behavior, sensing, and exit controls differ across product families.https://repair.dji.com/help/content?customId=en-us03400006776&documentType=artical&lang=en&paperDocType=paper&re=US&spaceId=34
- DJI Mini 4 Pro User Manual, DJI. Manufacturer source. Checked . Used as an exact-model example of Home Point, Smart RTH, Failsafe RTH, low-battery behavior, vision-system limits, and preflight RTH settings.https://dl.djicdn.com/downloads/DJI_Mini_4_Pro/20240627/DJI_Mini_4_Pro_User_Manual_en.pdf
- Recreational Flyers & Community-Based Organizations, Federal Aviation Administration. Government source. Checked . Used for the current requirement that recreational flyers keep the aircraft within visual line of sight and give way to other aircraft.https://www.faa.gov/uas/recreational_flyers
Editorial disclosure: This guide uses current FAA guidance and one manufacturer system as a worked example. DroneReviewed has not flight-tested the cited aircraft, and no DJI behavior is presented as universal RTH behavior.