Direct answer
Charge only an identified, undamaged battery with the documented equipment and conditions.
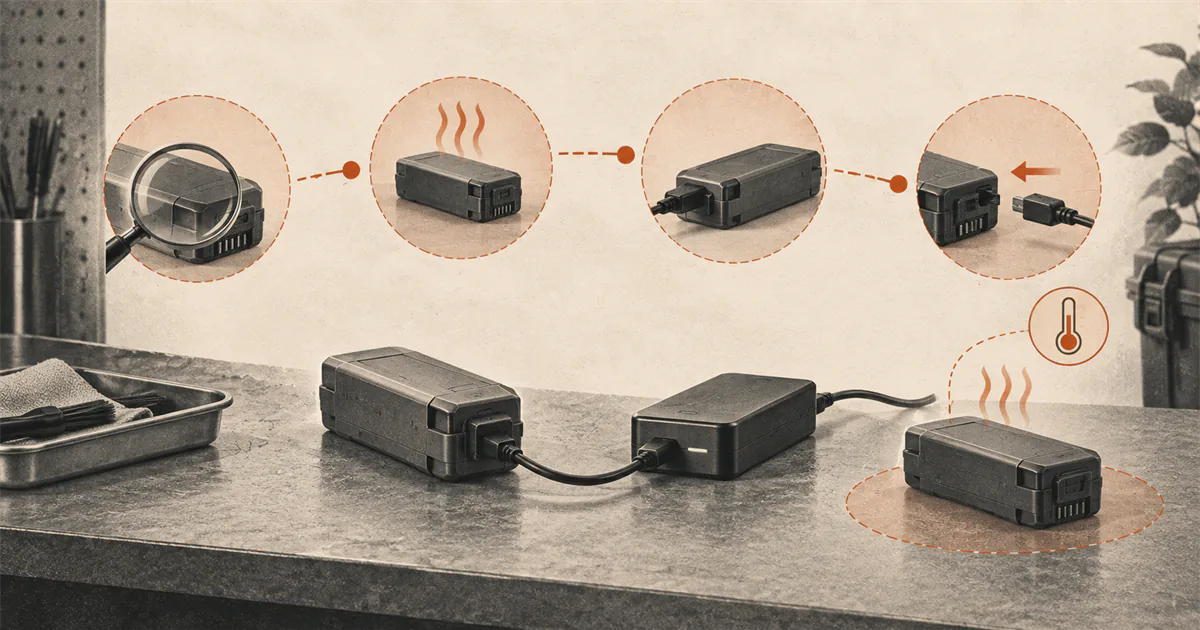
Match the battery to the aircraft and charger, inspect the case and contacts, let the pack cool after flight, and confirm that it is inside the manufacturer's charging-temperature range. Charge on the stable surface specified by the manual, keep the setup observable, and stop if the battery swells, leaks, smells unusual, becomes unexpectedly hot, or reports an unresolved error.
Identify every part of the charging system
A drone battery is not a generic USB device. Begin with the exact battery model, aircraft, charging hub, cable, and power adapter. Confirm each part in the current manufacturer documentation before connecting power.
Do not assume that a plug that fits is compatible. Charging voltage, power-delivery protocol, battery chemistry, firmware behavior, hub sequence, and temperature protection can differ. A third-party component is acceptable only when the manufacturer documentation for the exact system permits it and its ratings meet that instruction.
DJI Mini 4 Pro provides a useful model-specific example. Its current manual recommends the DJI Mini 3 Pro Two-Way Charging Hub, DJI 30W USB-C Charger, or another compatible USB Power Delivery charger. That statement applies to the documented batteries and ports, not to every DJI product or every drone battery.
Inspect before connecting power
Look at the battery case, seams, contacts, charging port, cable, hub, and adapter in good light. Stop before charging if the battery is swollen, cracked, leaking, wet, discolored, unusually hot, has a strong unusual odor, or does not fit normally. Do not press a deformed pack into the aircraft or hub.
Keep contacts clean and dry. Do not use a metal tool to scrape them, bridge terminals, open the case, or attempt a cell-level repair. If the condition is uncertain, isolate the pack from use and follow the swollen-battery stop-use checklist.
An inspection cannot prove that a battery is healthy. It catches visible reasons not to begin charging.
Let the battery reach its charging condition
Flight, direct sun, a hot vehicle, and a cold environment can leave the pack outside its charging range even when the room feels comfortable. Follow the charging-temperature limits and waiting instructions for the exact battery.
The DJI Mini 4 Pro manual says not to charge its Intelligent Flight Battery immediately after flight when it may be too hot. It instructs the user to wait until the battery cools to its operating condition and states a charging range of 5 to 40 degrees Celsius (41 to 104 degrees Fahrenheit). This is an exact-model example, not a universal range.
Do not accelerate heating or cooling with a hair dryer, heater, refrigerator, freezer, water, ice, or direct sun. Move the battery to an appropriate dry environment and let it reach the documented condition without an improvised method.
Set up a clear charging area
Use the surface, ventilation, spacing, and supervision described by the manufacturer. The Mini 4 Pro charging-hub instructions call for a flat, stable surface and proper insulation to reduce fire risk. Keep the charging area dry, uncluttered, away from direct heat, and easy to observe.
Do not bury the hub in a bag, cover vents, stack loose packs around it, or place conductive objects near exposed contacts. Keep children and pets away from the setup. Avoid a route where someone can pull the cable, knock the battery down, or mistake it for an ordinary device that may be moved while charging.
Treat a battery-safe bag, box, or surface as a product-specific choice, not permission to leave a questionable pack charging. Containment does not make swelling, damage, incompatibility, or an unresolved warning acceptable.
Connect in the documented order
Follow the exact manual for whether the battery charges in the aircraft, in a hub, or through a separate charger. Confirm that the aircraft is powered off when required, seat the battery without force, connect the supported cable and adapter, then check the battery or hub indicators.
For Mini 4 Pro, the manual explains that the battery-level LEDs show charging progress and that all battery-level LEDs turn off when the battery is fully charged. Other products use different lights, screens, sounds, or app messages. Read the indicator table before treating a blinking light as normal.
If a hub holds several batteries, confirm whether it charges them sequentially or simultaneously. The Mini 4 Pro Two-Way Charging Hub charges three compatible batteries in sequence. Do not infer the active slot or completion time from how many packs are inserted.
Stop on abnormal behavior
Stay close enough to notice an unexpected change. Stop using the setup and follow manufacturer support guidance if:
- the battery begins to swell, leak, smoke, hiss, smell unusual, or heat unexpectedly;
- the charger, cable, aircraft, or hub becomes damaged or unusually hot;
- a status light or app warning is not explained by the manual;
- charging repeatedly starts and stops;
- the battery no longer seats or releases normally;
- liquid, debris, impact, or another event may have damaged the pack.
Do not repeatedly reconnect an abnormal battery as a diagnostic method. Do not move a smoking, burning, rapidly heating, or leaking battery through an occupied area. Move people away and contact emergency services when there is an immediate fire danger.
Finish deliberately
Disconnect the charger when the exact manual says charging is complete. Let the equipment return to a normal condition before packing it into a closed case. Inspect the cable, adapter, hub, and battery again, especially if the session produced an error or more heat than expected.
Charging and long-term storage are separate tasks. Follow the battery storage guide for the model’s self-discharge and storage behavior instead of leaving every pack at full charge indefinitely.
If the battery will travel by passenger aircraft, do not treat the home charging case as a travel case. Check the current battery air-travel process before packing.
Run a seven-step charge check
- Match the battery, aircraft or hub, cable, and power adapter to current documentation.
- Inspect the case, seams, contacts, ports, and charging equipment.
- Confirm the battery is dry and inside its documented charging-temperature range.
- Place the setup on the specified stable surface with suitable ventilation and separation.
- Connect the equipment in the documented order.
- Watch the correct indicator pattern and stop on any unexplained change.
- Disconnect, cool, inspect, and store the battery according to the exact model instructions.
If any step is uncertain, do not charge until the manufacturer or qualified support channel resolves it.
Sources
Check the underlying guidance.
DJI Mini 4 Pro documentation supplies one exact-model example of compatible charging equipment, temperature limits, cooling, status lights, and surface requirements. The manual for the battery, aircraft, hub, cable, and power adapter in front of you remains controlling.
- DJI Mini 4 Pro User Manual, DJI. Manufacturer source. Checked . Used for the exact model's supported charging devices, charging sequence, cooling instruction, temperature range, status lights, and stable-surface requirement.https://dl.djicdn.com/downloads/DJI_Mini_4_Pro/20240115/DJI_Mini_4_Pro_User_Manual_EN.pdf
- Support for DJI Mini 4 Pro, DJI. Manufacturer source. Checked . Used to verify current charger, charging-hub, battery compatibility, and charging-temperature information for this exact model.https://www.dji.com/support/product/mini-4-pro
- Frequent Questions on Lithium-Ion Batteries, US Environmental Protection Agency. Government source. Checked . Used for the boundary that damaged lithium-ion batteries need a proper management route and do not belong in household trash or curbside recycling.https://www.epa.gov/recycle/frequent-questions-lithium-ion-batteries
Editorial disclosure: This guide synthesizes current manufacturer charging instructions and government lithium-ion battery guidance. DroneReviewed is not claiming battery testing, measured charge times, or a universal charging setup.