Direct answer
Observe first, correct one drift, then let the input end.
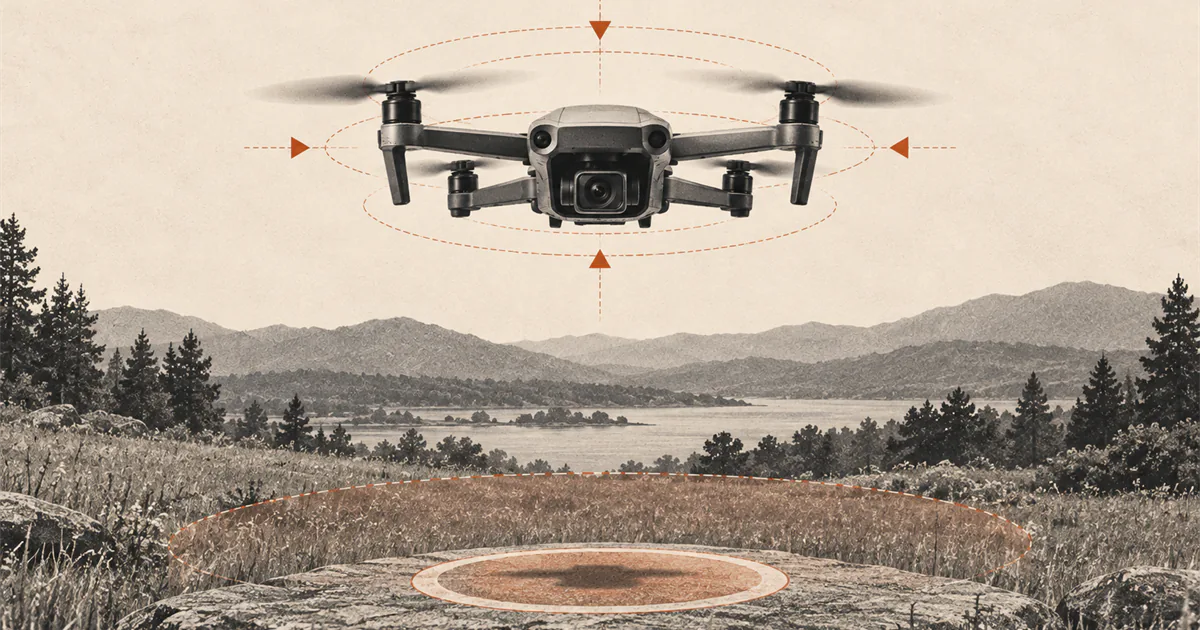
Practice in a clear area with the nose facing away, take off using the model's procedure, and establish a low visible hover suitable for the site. Watch the aircraft rather than chasing perfect stillness. When it drifts, make one small correction on the relevant axis, return the stick toward center, and reassess. Land when corrections grow, orientation becomes unclear, or the aircraft cannot hold a predictable position in the current conditions.
Know which kind of aircraft you are practicing
This guide is for a stabilized consumer multirotor that can hover predictably in its intended flight mode. It is not a procedure for FPV acro mode, a collective-pitch aircraft, or a drone that requires continuous manual throttle and attitude control.
Some aircraft use GNSS, downward vision, barometric sensing, or other systems to help hold position or altitude. The available sensors, required light and surface conditions, flight modes, and behavior when positioning degrades are model-specific. Read the manual before assuming centered sticks will make the drone stop and hover.
Hover practice still matters on a stabilized model. The objective is not to defeat the automation. It is to recognize position, heading, altitude, drift, and the effect of one deliberate input without adding speed or distance.
Set one visible reference
Choose a safe practice area and complete the preflight. Place a visible landing marker on the ground and keep the aircraft nose facing away from you. Tail-in orientation makes the aircraft’s left and right easier to compare with your view while you learn pitch and roll response.
Take off using the model-specific takeoff procedure and establish a low, clearly visible hover appropriate for the aircraft and site. Do not copy a universal height or duration. The useful reference is a position you can judge comfortably while maintaining visual awareness of the surroundings.
Look at the aircraft against the marker and background. The camera view can confirm a setting, but it should not replace direct awareness of position and orientation.
Correct one axis at a time
Start by observing. A stabilized drone may move slightly while the system responds to wind and sensor conditions. Do not create a larger error by reacting to every small motion.
When a correction is needed:
- identify whether the change is forward/backward, left/right, altitude, or heading;
- make one small input on the matching control axis;
- reduce or release that input before the aircraft passes the reference point;
- pause long enough to see the result;
- land if the movement is not becoming more predictable.
Avoid holding a correction until the aircraft appears perfectly centered. Control response can continue after the first visible movement, and an oversized input often creates an equal correction in the opposite direction.
Keep altitude and heading quiet
For the first hover, keep the nose pointing away and avoid yaw unless heading changes enough to require a small correction. Adding rotation changes the visual relationship between the aircraft and controller. That belongs in a later orientation exercise.
Use the model’s altitude control as documented. If the aircraft is designed to hold altitude with a centered stick, make small corrections and let the system respond. If it requires continuous throttle, this stabilized-drone drill does not apply without model-specific training.
Watch for uncommanded climbing, descending, oscillation, or heading change. These may reflect wind, positioning conditions, a flight-mode difference, or an aircraft problem rather than a lack of practice. Do not treat repeated calibration as a universal cure. Follow the warning and troubleshooting path in the manual.
Use a short hover drill
Keep each repetition simple:
- Take off with the nose away and stabilize over the marker.
- Observe without moving for a short comfortable interval.
- Correct one visible drift with one small input.
- Pause after the correction instead of immediately correcting again.
- Return over the marker if the aircraft moved away.
- Land with comfortable battery and attention margin.
On a later repetition, add one short move and stop: forward and back, then left and right, always returning to the same hover reference. The Virginia Tech training sequence uses this type of hover-and-lateral-movement progression, but its dimensions and heights are not universal instructions for every recreational site or aircraft.
Separate wind from control error
If the aircraft repeatedly drifts in one direction, requires larger inputs as it climbs, or cannot make predictable progress back toward the marker, the problem may be the conditions rather than the pilot’s stick technique.
Compare sustained wind and gusts with the exact aircraft limit and inspect nearby obstacles for disturbed flow. The drone wind basics guide explains why a sheltered takeoff point can differ from the hover area.
Land when:
- corrections become larger or faster instead of smaller;
- the drone cannot hold a predictable position in the current mode;
- orientation, altitude, or the landing point becomes unclear;
- a wind, battery, positioning, propulsion, sensor, or link warning appears;
- people, animals, traffic, or changing weather affect the area;
- concentration is shifting from learning to recovery.
Progress to orientation only when ready
A useful tail-in hover feels uneventful. You can identify drift, make one small correction, pause, return over the marker, and land without rushing.
Only then add side-in orientations and eventually a nose-in hover. When the aircraft faces you, visual left and right appear reversed from the pilot’s perspective. The nose-in orientation guide introduces that change without combining it with distance or a complex route.
Sources
Check the underlying guidance.
These sources support hover as a distinct training task and show why model-specific positioning and control behavior must be checked before relying on automatic stability.
- sUAS Manual Flight Exercises, Virginia Cooperative Extension, Virginia Tech. Independent source. Checked . Used for the expert-reviewed beginner sequence of takeoff, hover, short lateral movements, return to the landing zone, and landing.https://www.pubs.ext.vt.edu/content/dam/pubs_ext_vt_edu/CNRE/cnre-149/CNRE-149.pdf
- DJI Mini 4 Pro User Manual, DJI. Manufacturer source. Checked . Used only as an exact-model example of control mapping, positioning, hover, warnings, and flight-mode behavior.https://dl.djicdn.com/downloads/DJI_Mini_4_Pro/20240115/DJI_Mini_4_Pro_User_Manual_EN.pdf
Editorial disclosure: This guide synthesizes an expert-reviewed training exercise and a manufacturer manual. DroneReviewed is not claiming original flight testing, and the procedure does not apply to every FPV, acro, or manual-mode aircraft.